Row-level security (RLS) is a feature of Power BI that allows you to restrict data access for different users based on filters you define within roles. For example, you can create a role for Sales Managers and apply a filter that only shows them the sales data for their region. This way, you can ensure that each user only sees the data that is relevant and appropriate for them.
However, managing RLS roles can be challenging if you have a large number of users or if your user base changes frequently. You need to manually assign each user account to one or more roles, which can be time-consuming and error-prone. Moreover, if a user changes their position or leaves the organisation, you must update their role membership accordingly.
This is where Security Groups become handy. Security groups are collections of user accounts that share common characteristics or permissions. You can create security groups on your Azure Active Directory (AAD) or Microsoft 365 Admin Centre and add users based on their roles or responsibilities. For instance, you can create a security group for each sales region and add all the sales managers who belong to that region.
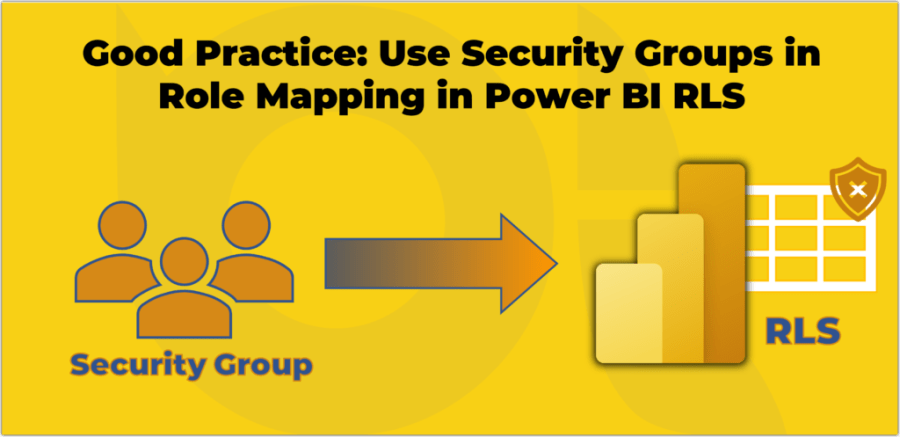
By using security groups in Power BI RLS role mapping, you can simplify and, somehow, automate the process of RLS management. Instead of adding individual user accounts to roles, you can add security groups as members of roles. This way, you only need to maintain the membership of security groups once, and Power BI will automatically apply the RLS filters to all the users within those groups.
Using security groups in role mapping has several benefits. The following are the top four:
- It reduces the risk of human errors and inconsistencies when assigning users to roles.
- It saves time and effort by eliminating the need to update role membership every time a user changes their position or leaves the organisation. By adding or removing members from security groups, the changes automatically apply to the RLS roles.
- It improves scalability and flexibility by allowing you to add or remove users from security groups without affecting the RLS settings.
- It helps to reduce the confusion between people’s roles by differentiating the duties. So the business decides who has access to RLS roles; the M365 admins or IT create and manage the required security groups by assigning the user accounts to the security groups, and the Power BI admins assign the security groups to the RLS roles.
To use security groups in role mapping, you need to follow these steps:
- Create security groups on your AAD or from the M365 Admin Centre and add members to them according to your business requirements.
- Create roles and filters on Power BI Desktop using DAX expressions or the new enhanced RLS management.
- Publish your dataset to Power BI Service.
- Click the More options ellipsis button of the desired dataset and click Security.
- Add security groups as members of roles by typing their names or email addresses.
- Validate your RLS settings by using View as Role feature.
In conclusion, using security groups in Role Mapping in Power BI RLS can simplify and automate the process of managing RLS roles, especially when dealing with a large number of users or frequent changes in user base. By adding security groups as members of roles instead of individual user accounts, you can reduce the risk of errors and inconsistencies, save time and effort, and improve scalability and flexibility. Creating and managing security groups on Azure Active Directory or Microsoft 365 Admin Centre is a crucial step before assigning them to RLS roles in Power BI. With these steps in mind, you can effectively implement RLS with security groups in Power BI and ensure that each user has access to the appropriate data based on their role or responsibilities.
I hope you found the information provided useful and informative. Your feedback is valuable to me, and I would love to hear your thoughts on the topic. If you have any questions, suggestions, or comments, please feel free to leave them below. Your feedback helps me to improve the content quality.